
Launch a YouTube channel from zero with 8 prompts
Starting a YouTube channel from zero is mostly a planning problem. People buy a microphone, record three videos on random topics, get 40 views and stop. The channel had no clear viewer, no list of ideas and no plan for week two.
The YouTube from Zero series is eight linked prompts that take you from "what should my channel be about" to a published schedule and a path to earning. It works in ChatGPT, Claude or Gemini and assumes a budget of nothing. Start with step 1, or read the whole method first.
How to use the series
Run the prompts in order in one chat. Each step reads what you decided before: the niche feeds the brand, the brand feeds the ideas, the ideas feed the scripts. Steps 4 and 6 are the ones you'll rerun for every video.
Fill the [square brackets] with honest detail. "I'm an accountant who hates jargon and can do voiceover but not face to camera" gets a much better answer than "finance".
One honest caveat up front: no prompt can promise views or a date for monetisation. What the series gives you is a sensible plan, done in an afternoon, that you can measure and fix.
Step 1: Pick a niche you can start for free
Step 1 suggests eight niches that fit your knowledge, format and time. For each it describes the viewer, what they search for, how crowded it looks, gaps in existing channels and how channels there tend to earn. It scores them, recommends one with a sub-angle that gives you an edge, and tells you what to search on YouTube to check its estimates.
Our worked example: Priya, a freelance bookkeeper, lands on "bookkeeping for UK tradespeople who do their own books", a narrow angle with plenty of searches and few channels speaking to that viewer.
Step 2: Build the channel identity
Step 2 writes a viewer profile, 12 name options, a one-line positioning statement, a 150-word channel description, two colours and a thumbnail rule, banner concepts you can make free in Canva and three content pillars. Every later video fits under one of those pillars, which keeps the channel coherent.
Step 3: Find 30 video ideas
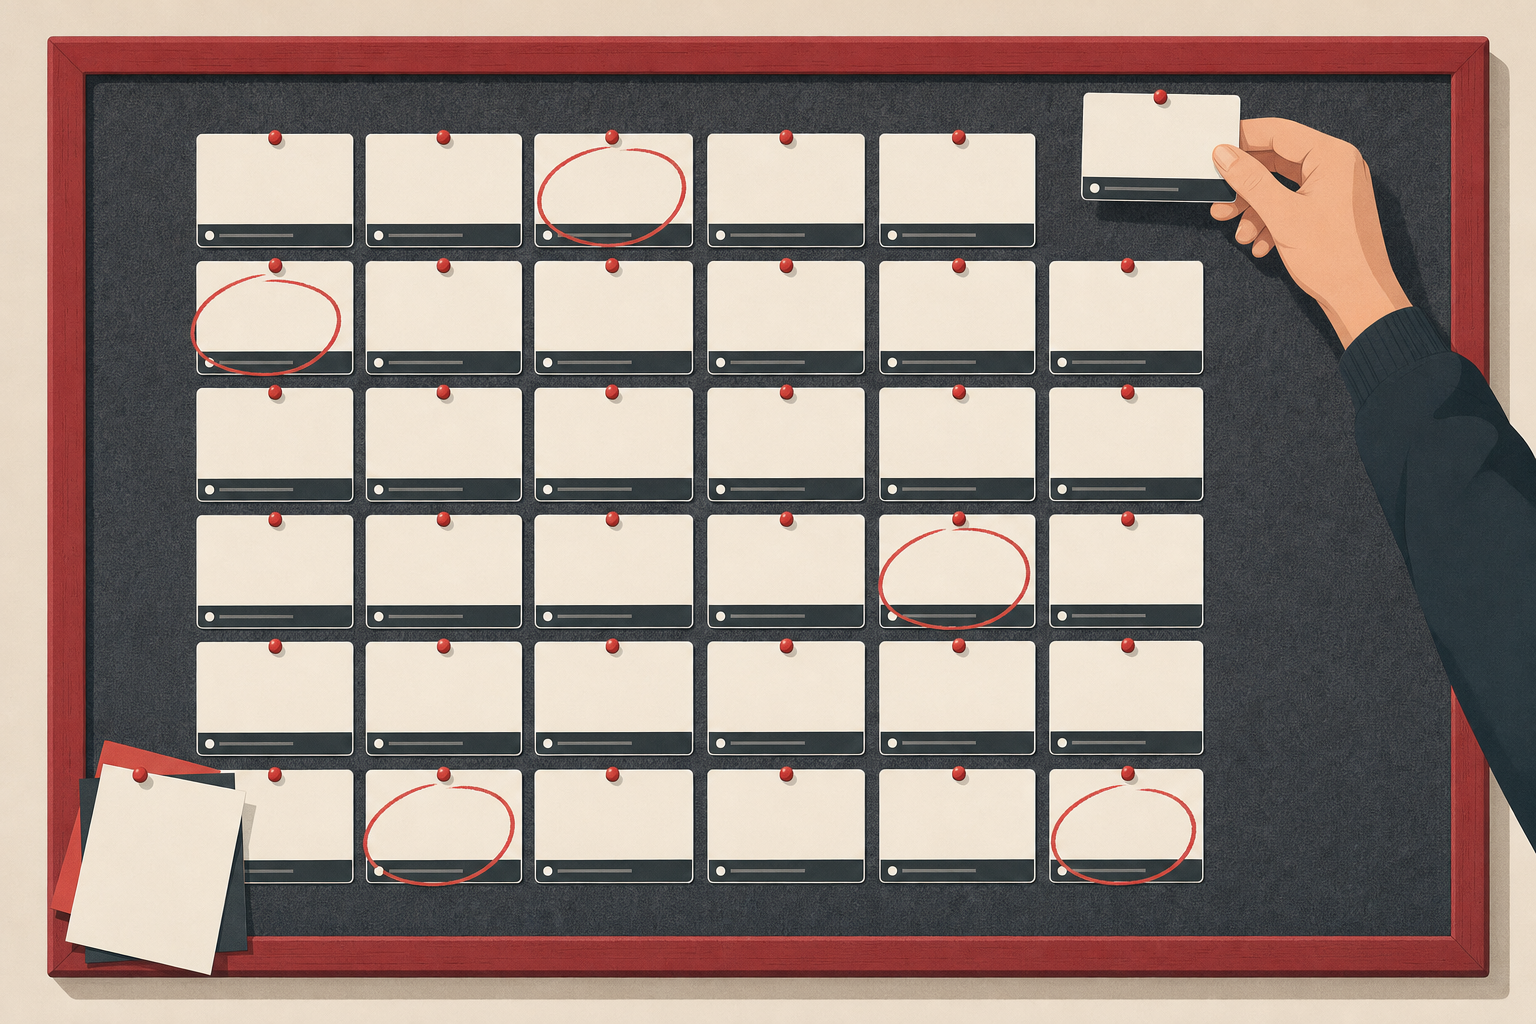
Step 3 gives you 30 ideas split across search videos, tutorials, comparisons and story videos, with at least half built around a phrase someone would type. Each idea has a working title, pillar, viewer, search phrase and reason it should get views. It marks ten that work as Shorts and puts the 30 in a sensible upload order.
New channels get found through search first, so that half-search rule matters. If you want to go deeper on one idea, this keyword research prompt checks the exact phrase a video should target.
Step 4: Write a script that holds attention
Step 4 turns one idea into a full script: a 15-second hook, a two-sentence setup, three to five sections that each open with a question, a re-hook every 60-90 seconds and an ending that points to a specific next video. Visual directions sit in square brackets so editing is quicker.
For longer videos, this chapter-paced script prompt adds structure for 15 minutes and up.
Step 5: A free production workflow
Step 5 maps the full pipeline from script to upload: recording or voiceover, visuals, editing, captions, music, thumbnail and upload. It suggests two free tools per stage, explains licensing for music and footage, gives audio and lighting tips for the kit you own, a folder system and a time budget per video.
If you'd rather record and edit in one place, Shot.Video lets you record your screen and camera, cut the video and add captions in the browser, which suits screen-led tutorial channels like Priya's.
Step 6: Titles and thumbnails people click
Step 6 writes ten titles under 60 characters across four styles, five thumbnail concepts with no more than four words of text each, the best pairing, a description with chapters and a check that the packaging doesn't promise more than the video gives. It finishes with an alternative pairing to try in YouTube's Test and Compare feature.
Before your first upload, it's worth running our thumbnail style guide prompt once so every thumbnail looks like it belongs to the same channel.
Step 7: The first 37 days
Step 7 builds a day-by-day plan for the first 37 days: what to publish, what to make, engagement tasks and one small improvement per day. Shorts are cut from each long video and point back to it. Every seven days there's an analytics review covering click-through rate, average view duration, returning viewers and subscribers per video, with the decision each number drives.
Milestones are set as ranges, because new channels vary a lot. Use this analytics review prompt at each weekly check if you want a deeper read of one number.

Step 8: A realistic path to monetisation
Step 8 sets out the YouTube Partner Program thresholds for the lower fan-funding tier and full ad revenue, and tells you to confirm them on YouTube's help pages since they change. It works out the gap from your current numbers, gives cautious, likely and good scenarios, and lists income you can start before you qualify: affiliate links, a lead magnet, a service or product, early sponsors.
For many business channels, that pre-YPP income matters most. Priya's channel will probably earn more from bookkeeping clients who found her through a video than from ads for a long time.
The eight steps at a glance
- Pick a channel niche you can start for free
- Build your channel name, brand and viewer
- Find 30 video ideas your viewers want
- Turn a video idea into a script that holds
- Set up a free video production workflow
- Write titles and thumbnails people click
- Plan your first 37 days of channel growth
- Map a realistic path to monetisation
Start today
List the topics you could talk about for 100 videos and run step 1. By the end of step 3 you'll have a niche, a brand and 30 ideas, which is more than most new channels start with.